First app
This page guides you through your first app using MeltedForge's core. It is a quick guide to get a gist of how things get going, and this is not a full tutorial or a complete documentation. It is meant to get things up and running as soon as possible while also explaining things and there alternatives.
Info
- For this guide, it is recommended to have some basic knowledge of C and a little bit about graphics rendering since things may get a little technical.
- Also, we are not going into too much depth like explaining what is what and how and why things are the way they are.
Entry point
When using MeltedForge, you won't be writing the usual main() function. Instead, it is expected from the client
it provides a implementation of the function mfClientCreateAppConfig. Here is its signature:
#define MF_INCLUDE_ENTRY
#include <mf.h>

MFAppConfig mfClientCreateAppConfig() {
    ... // Client code
}
Info
For getting the engine core's API declarations, including only mf.h should suffice.
Info
The macro MF_INCLUDE_ENTRY should be defined before including mf.h, only in a single .c/.cpp file of the client, since it signals the engine to enclude the main function. This is because there might be multiple .c/.cpp files including mf.h which would instead create multiple definitions of the main function.
The app config
The mfClientCreateAppConfig is expected to return a typedefed struct called MFAppConfig, which contains
function pointers to common functions like initApp, runApp, etc. and options like enableDepth, enableUI, etc.
But in this guide, we won't be focusing on creating a custom app with custom app related function pointers. Instead
we will be using the engine's mfCreateDefaultApp(const char* appName) which will generate a MFAppConfig for us. This generated app config has very minimal features by itself but can still be heavily customized.
Here is the minimum setup:
#define MF_INCLUDE_ENTRY
#include <mf.h>

MFAppConfig mfClientCreateAppConfig() {
    MFAppConfig config = mfCreateDefaultApp("First app using MeltedForge!!");
    config.winConfig.resizable = true; // Setting the window so that it can be resized. By default this is set to false.
    config.enableDepth = true; // Enabling depth buffering (for 3D rendering). By default this is set to false.

    return config;
}
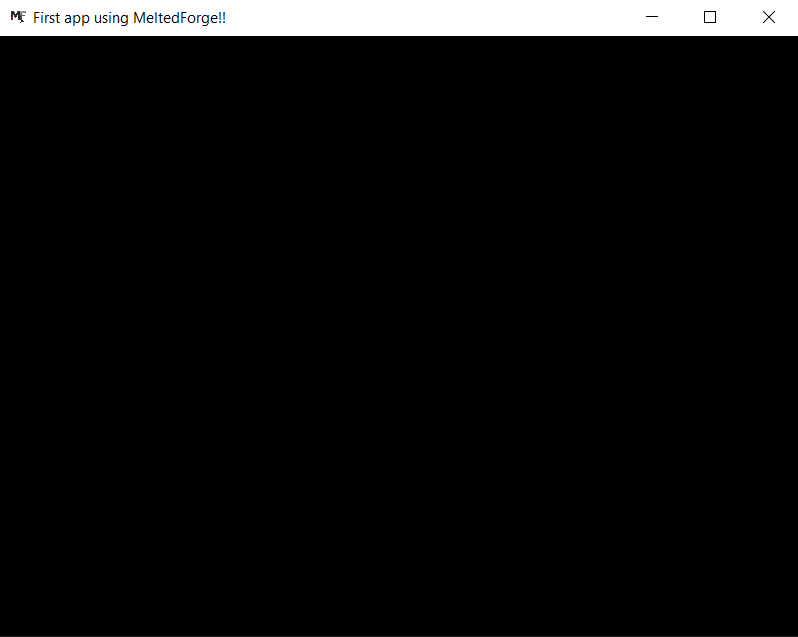
Since already mentioned, the default app is very minimal and doesn't do anything visually.
So you should see something like this:
The layer system
MeltedForge supports a layer system in the default app so that the client can easily customize whatever they want and in a modular way too.
Here is a sample for your "first app":
#define MF_INCLUDE_ENTRY
#include <mf.h>

struct Layer {
    MFVec3 color;
};

static void OnInit(void* layerState, void* pAppState) {
    Layer* state = (Layer*)layerState;
    MFDefaultAppState* appState = (MFDefaultAppState*)pAppState;

    state->color = (MFVec3){0.1f, 0.0f, 0.1f};
    mfRendererSetClearColor(appState->renderer, state->color);
    slogLogMsg(mfGetLogger(), SLOG_SEVERITY_INFO, "%f %f %f", state->color.r, state->color.g, state->color.b);
}

static void OnDeinit(void* layerState, void* pAppState) {
    Layer* state = (Layer*)layerState;
    MFDefaultAppState* appState = (MFDefaultAppState*)pAppState;
    // Client's custom code
}

static void OnRender(void* layerState, void* pAppState) {
    Layer* state = (Layer*)layerState;
    MFDefaultAppState* appState = (MFDefaultAppState*)pAppState;
    // Client's custom code
}

static void OnUpdate(void* layerState, void* pAppState) {
    Layer* state = (Layer*)layerState;
    MFDefaultAppState* appState = (MFDefaultAppState*)pAppState;
    // Client's custom code
}

static void OnUIRender(void* layerState, void* pAppState) {
    Layer* state = (Layer*)layerState;
    MFDefaultAppState* appState = (MFDefaultAppState*)pAppState;

    igDockSpaceOverViewport(igGetID_Str("Dockspace"), igGetMainViewport(), 0, 0);

    igShowStyleEditor(igGetStyle());
    igShowDemoWindow(mfnull);

    igBegin("Hello", mfnull, ImGuiWindowFlags_None);

    igText("Delta Time: %0.3f ms", mfRendererGetDeltaTime(appState->renderer));
    igText("FPS: %0.2f", 1000.0/mfRendererGetDeltaTime(appState->renderer));

    igEnd();
}

MFAppConfig mfClientCreateAppConfig() {
    MFAppConfig config = mfCreateDefaultApp("First app using MeltedForge!!");
    config.winConfig.resizable = true;
    config.enableDepth = true;
    config.enableUI = true;

    MFLayer layer{};
    layer.onInit = &OnInit;
    layer.onDeinit = &OnDeinit;
    layer.onRender = &OnRender;
    layer.onUIRender = &OnUIRender;
    layer.onUpdate = &OnUpdate;
    layer.state = MF_ALLOCMEM(Layer, sizeof(Layer));

    MFArray layers = mfArrayCreate(1, sizeof(MFLayer));
    mfArrayAddElement(layers, MFLayer, layer);
    config.layers = layers;

    return config;
}
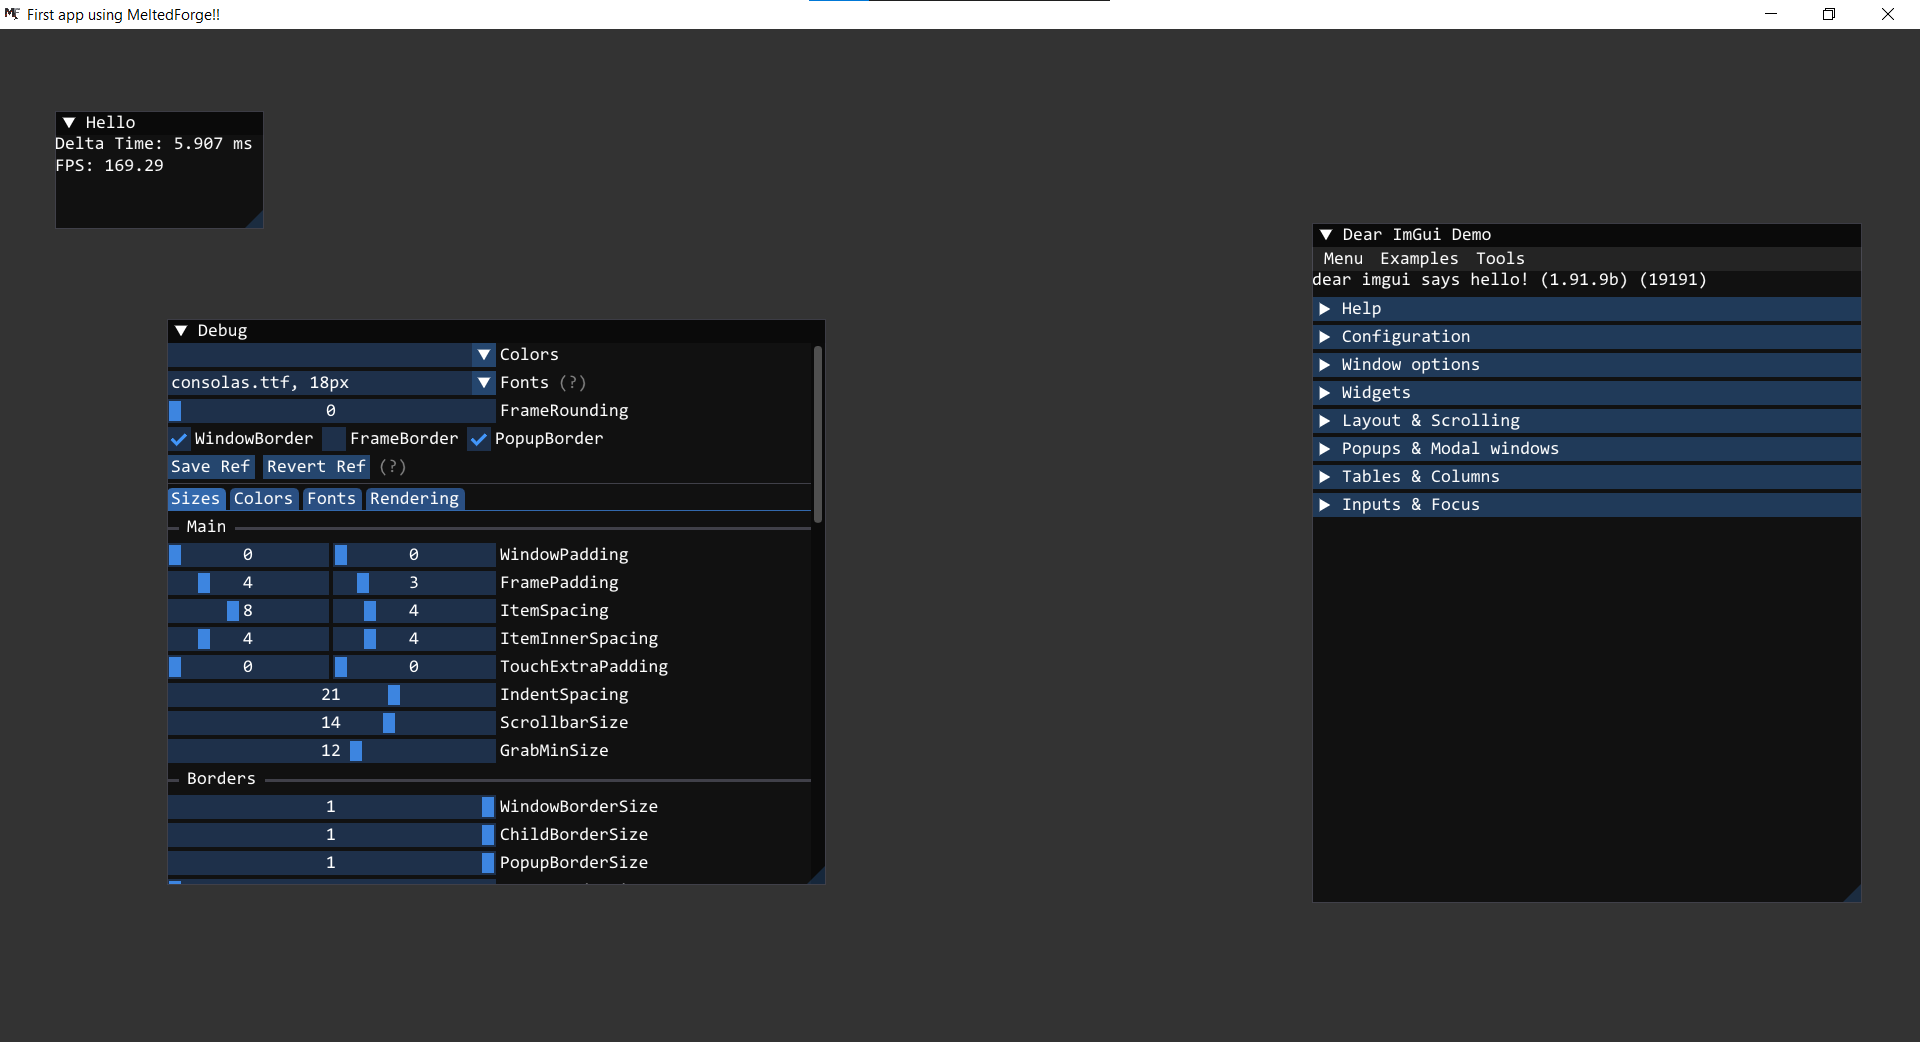
Based on this first app's sample, you should see something like this:
Note
- The MFDefaultAppState contains these attributes:
- MFWindow* window
- MFRenderer* renderer
- The
MFArrayutility struct is a custom dynamic array data structure for any data type, internally expressed asvoid*and accessed based on theelementSizeattribute provided - Every layer function signature contains these two parameters
void* layerState, void* appState, which needs to be type casted explicitly to their own original type to access their data. - In case any layer function pointer is
NULL/0, then the engine doesnt panic, it just doesn't calls it.
Tip
If you have interest and want to see an example which demonstrates every feature of the engine in a single MFLayer, then feel free to read the source code of the MFTest app. Link here